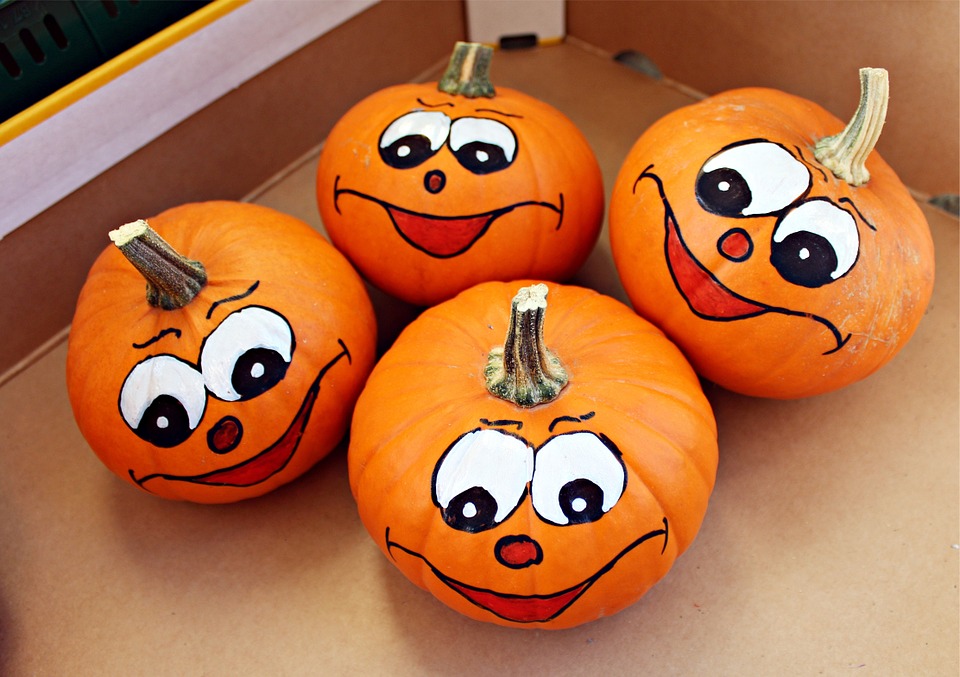
Gone are the days where everyone carved a pumpkin for Halloween. More people are getting creative by painting their pumpkins. Painting a pumpkin can be an easier way to include the younger ones in on the fun too. Before you buy your pumpkin make sure to select a pumpkin that is ripe. The rind at the top of the pumpkin should be strong and firm and sound hallow when you tap it.
Check that the pumpkin does not have any rotting areas, blemishes, or soft spots which would indicate that the pumpkin tissues have been damaged. Bumps and hard “pimples” particular to some varieties are okay, though, and could be incorporated into a painting.
- The best pumpkins are the ones with the stem still in tact. Not only to they look nicer, but water won’t pool into the crevasse which could get moldy after a while.
- Think about design. If you want your pumpkin to sit perfect, then check it for balance before you buy it.
- Choose a pumpkin that is the right size and shape for your project.
- What colour of pumpkin will work best for your design. If you are going to be using dark colour paints or the pumpkin will be a darker corner you may want to choose a white pumpkin.
- To prepare your pumpkin for painting. Wash it with 1 tablespoon of bleach per 1 gal. of water. You can also use a those cleanup moist clothes that have bleach in them. (An easier way to wash up the oils and dirt from the pumpkin). Dry well.
- If you need to cure your pumpkin, this will take about two weeks. Just place in front of a sunny window.
- Here’s the really important step. Seal your pumpkin with and brush or spray on sealer. This will preserve your pumpkin and give you a great surface to create your master piece on. Plus it will help your pumpkin to last for months. Varnish your design. The Varnish would be applied after you have painted your design and the paint is fully dry. Check with your paint store thought to make sure the Varnish you choose won’t make the paint design bleed after you’ve put it on top of your design. Varnish can also be in brush or spray on.
What you’ll need to get started:
Newspaper to put underneath your project
Paper towels to clean up any drips or mistakes from your pumpkin
Containers for washing up your paint brushes
Pencil for creating your design
Acrylic Paint
Acrylic Paint markers work well too
Sealant
Painters tape works well for laying out your design
You can search online for free stencils or if you are pretty good at freehand drawing you can Google some designs.
If you’re not into the spooky designs, you can paint a pumpkin any colour you want and just have multiple coloured pumpkins.
We’ve seen stacked pumpkins from larger to smaller at the top that were painted and their house numbers were put on the pumpkins. One number for each pumpkin.
Have fun this Halloween and share your pumpkin idea’s with us on our Facebook Page.


Leave A Comment
You must be logged in to post a comment.